Showing posts with label interior design. Show all posts

Wednesday, April 15, 2020

Keeping it Cozy in the Family Room

Well, hey.  Welcome back.
  
Look at me,  two posts in a month.  Slap some butter on me cause I'm on a roll.

Anyway, I figured I would give you guys a quick layout of the new digs, and talk a little about how we are making an old school layout work for us.  

Like I said in my last post, our house is a traditional colonial that was built in 1978.  If you are my age, you probably either grew up in a similar style home, or you had a friend who lived in a similar style house.  

These houses were built to have formal spaces, such as a formal living room and a formal dining room.  I whipped up a little floor plan (via floorplanner.com) so you can see the flow of our house:
 Our sun porch is heated, so we have three sitting areas, as well as a back porch accessible from the kitchen.   Honestly, we don't need that much seating, especially when the sun porch and the family room open up into each other; when we have big family gatherings, we have found that if we just keep the sliding doors open, everyone can still hang together.

I did want a bigger dining room though.  In our last house we did not have a dining room, so I could never host holidays.  We decided that instead of having a third, large formal living room (that would probably not get used) we would use the front room as a formal dining room.  The room that was originally meant to be a dining room is now the kids play room.
I am love love LOVING this set up because the keeps the kids toys out of the family room.  After years of trying to covertly hide their toys and pretend like the main living area is actually an adult space, I don't have to worry about it anymore.  

Don't get me wrong, there are still plenty of blanket forts, Barbies, and LEGOS  and SO MANY NERF DARTS (seriously, they are like the boy version of glitter) that make their way into the family room, but at the end of the night I scoop them up and just dump them in the playroom. 

Out of sight, out of mind.  That's my parenting style, y'all.  

The family room is easily where we spend the most time, so I thought I would give you a little tour of the space and you can see it's evolution in the past year.  

(prepare for some shitty iPhone photos.  Sorry guys, I didn't take good before photos because I did not intend on blogging again.)

Most of the house was pretty neutral when we bought it; it looks like the previous owner had painted most of the room white before listing.  

Except for the family room.  It was like Philadelphia Flyers Orange on three walls.  

I spy with my little eye, a mutt butt.


I guess the white wall was an accent wall?  I dunno...

Anyway, I was thinking about doing the same color as the family room in our first house, but I thought to myself "no, let's go darker, more saturated.  You're pushing 40 girl, use a grown up color".  Also, Valspar had changed the name of the first color and I don't know what it is called now.  

I still wanted a green color, because I find green soothing and peaceful and at the end of the night when I am snuggling with my kids during a movie night or hanging with my girlfriends while chugging wine and gossiping, I want to feel zen AF.

So I had no less than 39875305793793 samples of paint and finally settled on Sherwin Williams Recycled Glass.  A few days after settlement I came over with my paint brush and got started.

You guys.  It was the same.  damn.  color.


Maybe this is my signature; Joanna Gaines has ship lap, I have this light green color.  


Ahhh, our HOVAS.  In the year that our things were in storage, JEGS and I talked about how much we missed our beloved couch. Then, on moving day, as the HOVAS was being set into the family room, that's when this house really began to feel like home.  


The buffet from the old kitchen fit perfectly on side wall and you know we were not leaving our big ass clock behind either.  The two white chairs were something I had snagged off Facebook marketplace to stage the last house to sell, so I just plopped them here for extra seating.  

As much as we loved the HOVAS, it was nearly eight years old and starting to show it's age.  I mean, it was a white couch and we did have two kids and a dog, so it got dirty really easily.


I was getting good at pulling off the slip cover and washing it, but late in September I was getting ready for Hunter's birthday party and I noticed the slipcover had begun to tear so much, and I just had enough. 


I texted JEGs that day and said "we are buying a new couch this weekend."

 Again, I was all about buying grown up furniture.  I was ok with dropping a little bit of  coin because I knew this couch was going to used daily and I wanted something that would stand up to my destructive children our family.   I wanted something darker (I was NOT going white again) but I still wanted a slipcover though because... well, my kids are slobs.  The End.

I started looking for a couch with slip covers and I could not find anything!

....except IKEA.   IKEA was the only place I could find a sofa I liked that came with a slipcover.

I am going to rename this blog from Lizzie In Progress to Lizzie Shops at One Store and Uses One Paint Color.

The HOVAS was moved to the basement (that we will eventually finish into a playroom) and we chose the VIMLE sofa because we could customize it and we are very happy with it.


All four of us can stretch out on this for movie viewing and have room to spare.  In fact, I can lay down on the short end and JEGs can stretch out on the long and and we don't even touch.
(how romantic, right?  This is what nearly ten years of marriage looks like, haha).


Since the couch was so dark, I snagged this shag rug from Overstock to help lighten up the space but still keep it cozy.


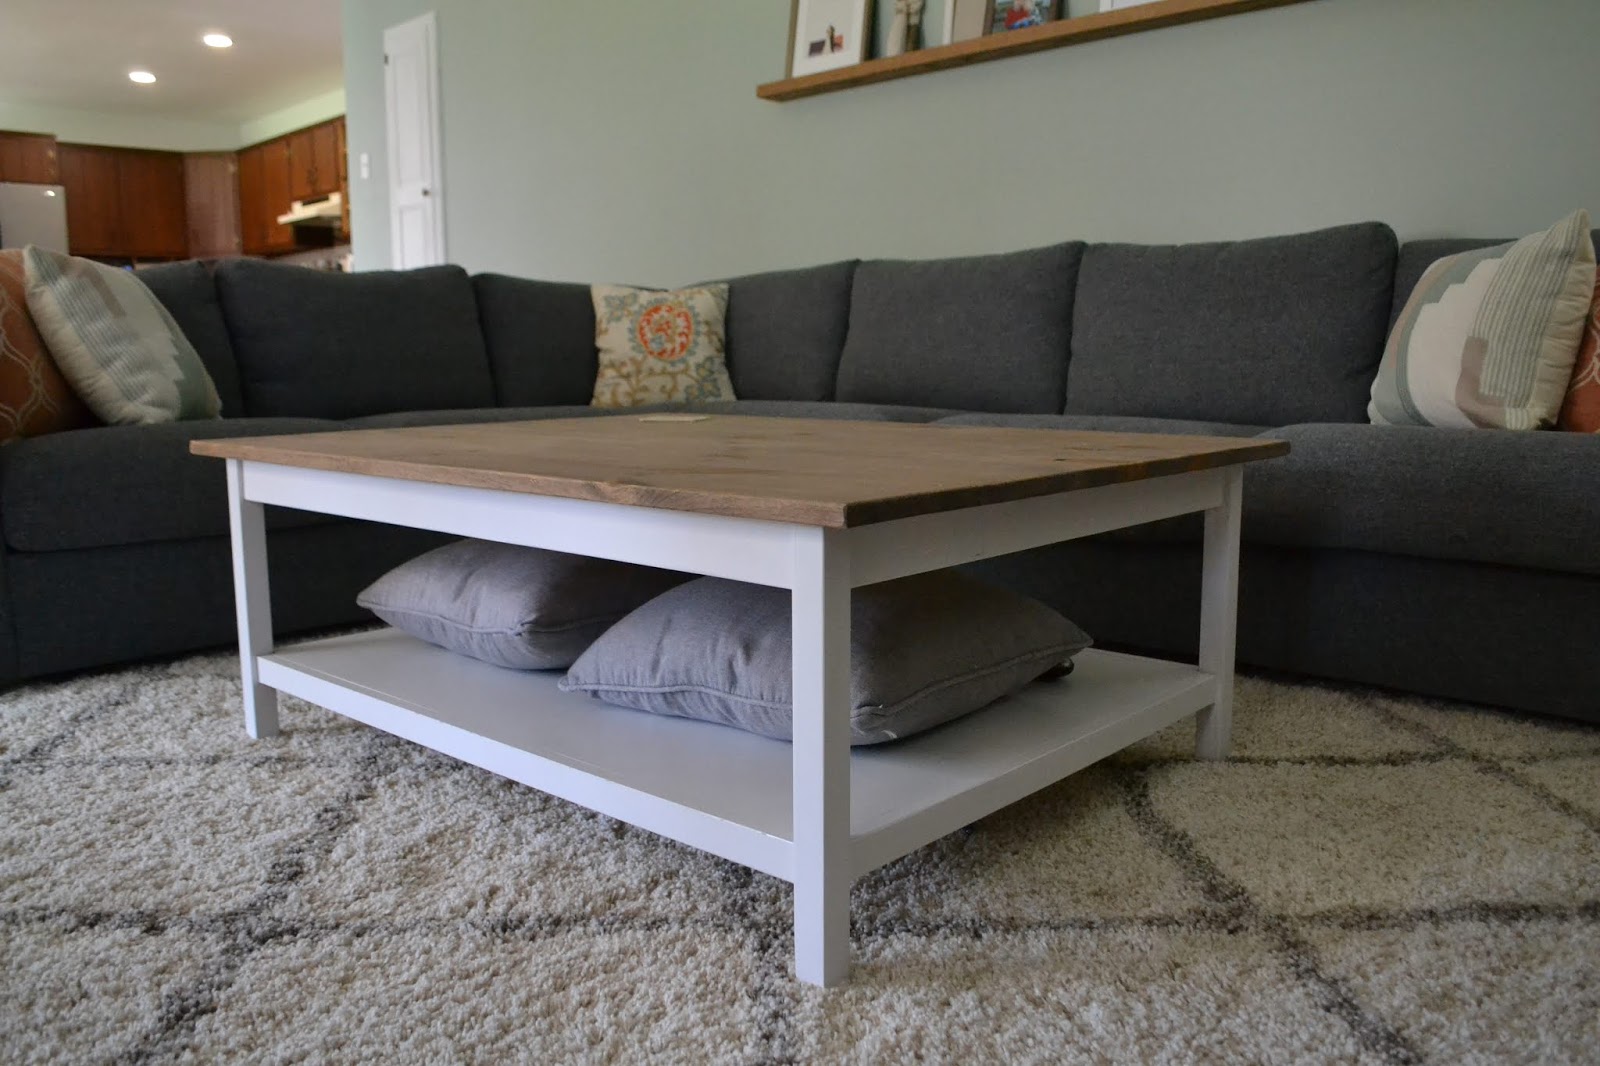
JEGs made two custom builds for this room; the first is our coffee table.  We had kept the first table  that I had painted and upholstered in 2014 with the new couch for a couple of months, but it was driving me nuts.  First off, it was too long and too skinny for the new couch.  Also, we were spending a lot of time playing board games and doing puzzles with the kids, I wanted something with a more solid surface (putting together a puzzle on a fabric surface is infuriating) and also more space to to spread out.  I found a table on IKEAs website (I know, I know...) and started talking JEGs into purchasing it.

He took one look at it and said "I can build that".
So I said "Fine.  Have it done by Saturday".

..and so he did.

Also, I wanted to do a gallery wall behind the couch, but I didn't want to have to deal with moving frames, filling holes and whatnot each time I wanted to add or remove a picture.  After debating if we wanted to big and chunky shelves or multiple thin shelves, we finally landed on two long and slender picture ledges.


I have added a couple family photos and so far I love it.  I have a couple more frames to fill, but I love that I can add and delete things as much as I want.

I still have a few things that I want to do in this room; we want more overhead lighting, crown molding, JEGs is talking about building a new TV stand, we might want to build out the fireplace some more and we have been going back and forth about maybe closing up the window that looks out to the sunroom.  

But, for now, we are pretty happy with this room.


ME

Monday, November 25, 2013

The Lazy Mom's Guide to Fall Decor.


There is something about fallen leaves collected on patio furniture that I find slightly magical.  


I don't get too excited specifically for Halloween and Thanksgiving decorations.  Truth be told, I could skip Thanksgiving altogether-- it's not my favorite holiday.   Ain't nobody got time for switching stuff up between September 1- December 1, so the name of the game is Longevity.

We have a new addition on our  front porch in the form of a wicker sofa.  I snagged this little baby and a neighborhood yard sale a few weeks ago for $35.  It's still in great shape and came with a matching coffee table that is currently residing in our basement.  It looks so much better than the folding chairs that we bought when we moved in together.  They were great when we first got them, but 4 years later, they were looking used and abused.


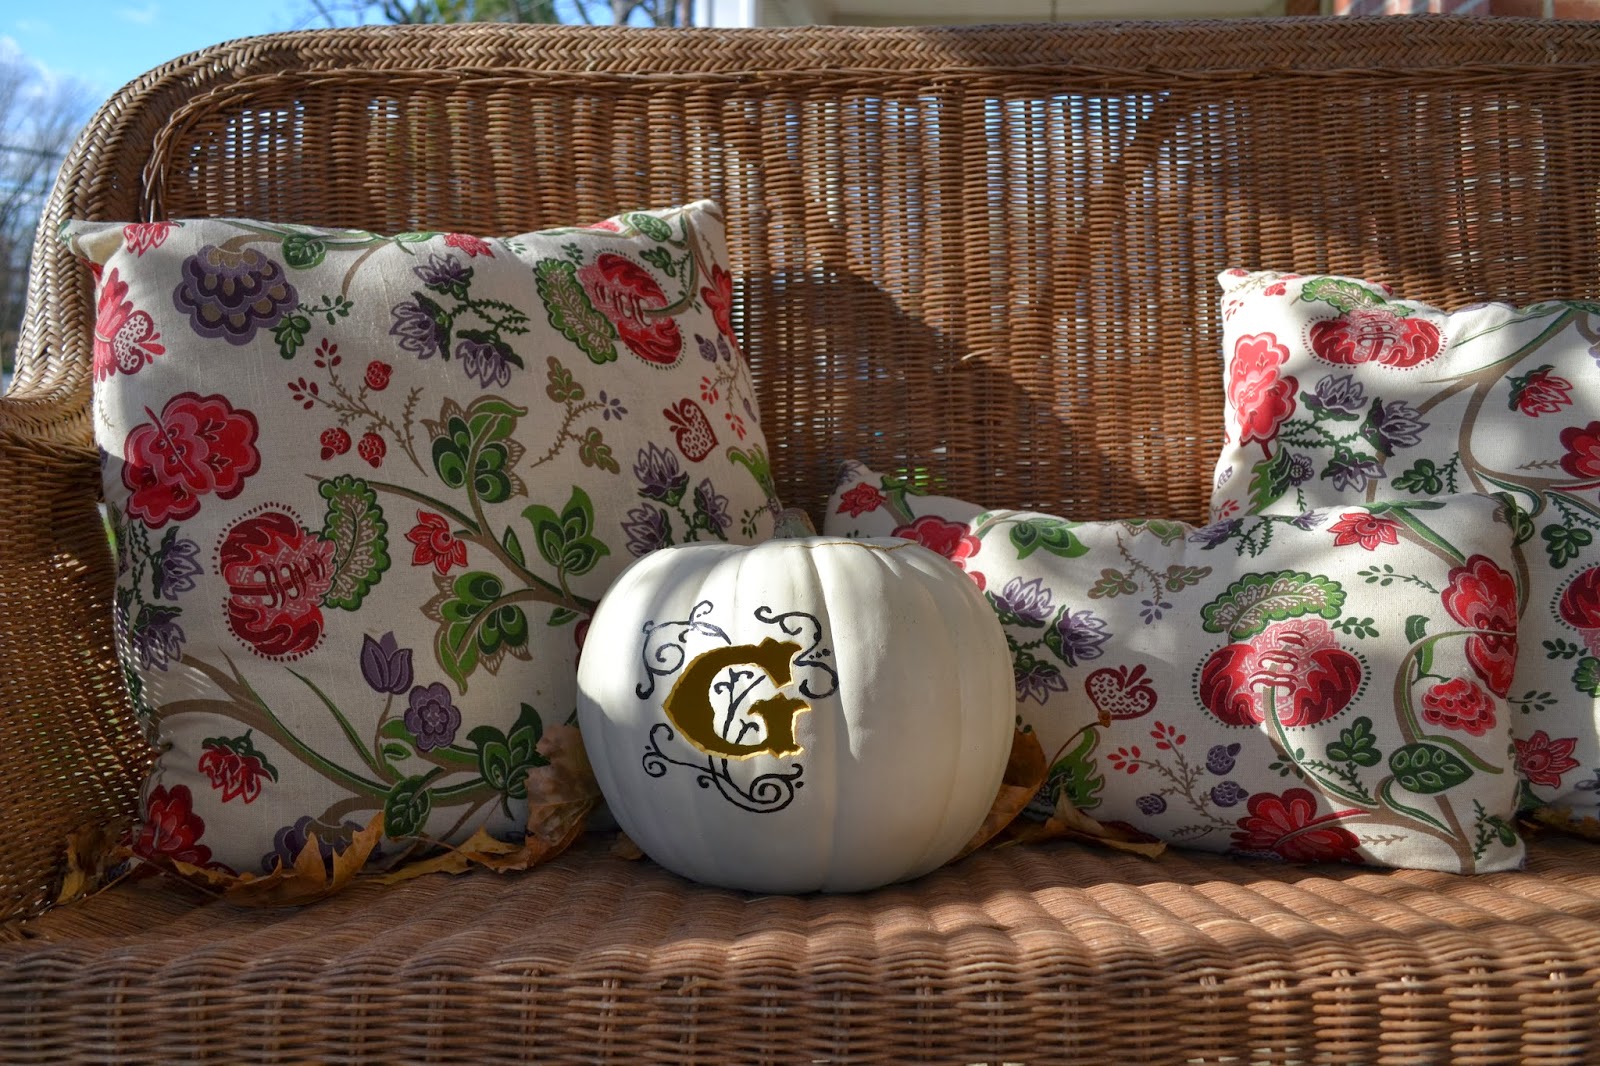
I added pillows that I made from a table clothes a couple years ago, along with our monogram pumpkin.  To this date, this is probably one of the DIY projects I am most proud of.


These train lanterns came out of a family friend's basement. I have an unnatural love for them.  


The glass table we've had for years (it came with the folding chairs), and the weather vain was something I picked up at a yard sale for a dollar when we first moved to Norristown.
                              

This wreath is probably one of my favorites.  I snagged it at Home Goods in 2011 and I love the simplicity of the twigs, leaves and wheat, but it still has the beauty of the single rose.


 I have a couple small gourdes scattered here and there, but this is the only thing I put thought into  in the house is the mantle. 


I love this leaf art.  JEGs found it in the back yard last spring.  We both loved how the only thing left are the veins, making it looks like a skeleton.  I matted it with some scrapbook paper and framed it.  I am secretly hoping to find more next spring so I could do an entire collage on a wall somewhere.


Oh IKEA, how I love your ROTERA lanterns.  These were actually part of a table centerpiece of a wedding we went to in 2011.  I may or may not have snagged four that day.


The greenery is actually party of a floral arrangement I got on clearance from Michael's and I just pulled it apart, sticking flowers and leaves in here and there. The large faux pumpkins were bought on clearance as well, and I am kicking myself for not getting two of the same size.  Or at least more.


Our mantle wraps around towards our staircase, and it's a decorating conundrum to me.  It's very skinny and long, and I never know what to put there.  This time I popped a candle in the corner.  Boom.  Done.  


 Simple, to the point... now let's move this season along so I can get one with my Christmas decorations!

Always & Forever,
  ME

Friday, August 16, 2013

Take Two

Back in June I shared a mood board for our master bedroom.  I had two phases, the first being a general freshening up with paint and curtains.  Every time I sat down to blog about it, I stopped myself, and I couldn't figure out what was holding me back.  Until a couple weeks ago I realized what it was.

I hated the color.  

Hated it.  

I had chosen Benjamin Moore's Conventry Gray with the idea of going with a gray, blue and coral color scheme.  After the color was on the wall, it just felt too cold and sterile to me.  


I decided to start looking into the "greige" colors-- beige grays.   These are the colors I started flirting with
(This picture is really not a good representation of the colors.  If you are interested in their true tones, I would highly reccommend getting your own samples)


At first I was torn between the Revere Pewter and the Edgecomb Gray, however I felt like the former was too dark and the latter too light.  While I was flipping through the new Pottery Barn catalogue, I noticed wall color they used, SW Pediment, seemed like a nice mix of the two, while still being gray.

I've taken the day off from work and I'm repainting the bedroom again.  Here is hoping the second time is a charm.

The good news is I am still loving our bedspread that I scored for $60 at Marshalls.  It's a beautiful navy blue with a large floral print.


My favorite part is it is reversible. If I am feeling sassy, I can flip it over for a geometrical design.


It reminds me of this picture I snagged from Centsational Girl as an inspiration for the bedroom.


 So I am just going to file this whole process under "life lessons".  Sometimes you don't pick the right paint color the first time.

How about you?  Have you ever picked a color that made you cringe after wards?

Always & Forever,
  ME

Wednesday, June 12, 2013

Birthday Traditions

Tomorrow is my birthday (yaaaaay!  happy birthday to meee!) and I am continuing this odd tradition I started a couple years ago of taking the day off and painting a room.  This year I've got my eye on our boudoir.  

We had been putting off doing any work in our bedroom because we have some major construction to do first.  However, a month or two ago I proposed the idea of just freshening up the trim and window sills with a fresh coat of paint, and JEGs surprised me by saying we could paint the room.

Picture me doing the happy dance/ butt jiggle.

Our room right now is a strange muted lilac color.  


It may look gray in the picture, but in person it shows much more purple.  It's not a pretty lilac or even an interesting gray.  It's just... blah.

As much as I would love to completely overhaul the whole room, we have a couple of out of town weddings this summer, as well as some debt we are trying to pay down, so this make over is going to be done in two phases.  

And because I like you guys, I'll give you sneaky peeky. 


Phase 1:
1. I'm painting the walls a definite gray color (Benjamin Moore's Coventry Gray matched to Valspar's Ultra VOC paint) and a fabric palate of navy and coral.  

2.  I stumbled upon this bedding set at Marshall's a couple weeks ago, and it was exactly what I wanted:  masculine colors in a feminine design.  The fact it was $60 (marked down from $180) was a total bonus!

3. I really wanted to make my own curtains and bring in more of the coral color.  However, the down side to having big, gorgeous windows is that they let in a lot of sun light.  As soon as the sun comes up.  Which is like 5:30 am in the summer.  JEGs and I get one day a week each to sleep in, so we decided these blackout curtains would be much more practical.  I snagged the navy and in person they are soft and have a slight circular pattern to help tie into the bedding.  

Phase 2:
4.  Our bed is a double.  JEGs is 6'4 and we have a cat who doesn't like to share with us.  I'm sure you can do the math: we need a new bed.  Eventually we want to upgrade to a queen size, however a queen size bed and two bedside table is going to be a tight squeeze on that wall.  This BRIMNES headboard has a shelf along the back as well as shelves along the side to replace our tables.  

5. I adore these prints from etsy seller MadeForYouPrints.  I would maybe have them flanking the smaller window, and save the area above the bed for some personal DIY.  

6.  My love knows no bounds for this Pottery Barn rug.    However, with the $699 price tag for an 8x10, I might be looking for a knock off, or searching the ol' Craigslist.  

7. With our side tables gone, I am dreaming of these sconces to hang beside our beds. 

The major construction I alluded to is our closet.  If you remember, two years ago we transformed the nook area into a closet, since the original closet is basically useless.  


However, our plan is to bust out the original closet and make the whole wall look like this:


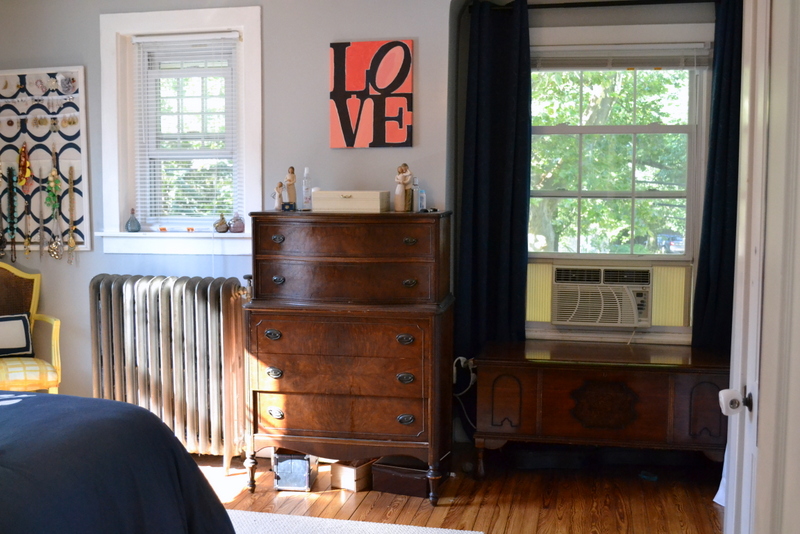
...I think instead of the doors in the middle, we are going to have another drawer and a self on top.  This will eliminate our need for the dresser next to the radiator.  Which I would like to evenually box in.

Ok, ok ok,  I am getting ahead of myself.  This stuff is waaaaaaay down the road.  Let's just concentrate on me slapping a coat of paint on the walls first.

Always & Forever,
  ME

Monday, June 3, 2013

Ninety-nine Problems and A Clock Ain't One of Them...

One of the projects JEGs and I worked on over the winter months was some functional decor in the kitchen.

We had two issues that were driving us crazy.  First, the wall over the kitchen island was bare.


Ok, so that was driving me crazy.  JEGs wasn't exactly loosing sleep over it.

The bigger issue is the fact we have no clocks in our living room. I know you are probably all "..what about your VCR/DVD player/cable box?"  and I'm all first off, who has a VCR anymore?  Secondly, we have none of those in our living room.

Jigga whaaa?

When we moved into the house, in order to afford our mortgage save money, we cancelled our cable.  Most of the stuff we watch is on major network channels that we get for free through an antennae  and other stuff we catch up on Hulu and whatnot.  So we hooked an old computer tower up to the TV for internet watching and we have an XBOX for DVD viewing.  Neither of which have a clock on the front.

We have a clock on the microwave and the stove, but you can't see either of those from our couch, and since we are lazy, we needed a solution.

So we decided to kill two birds with one stone and put an over sized clock on that wall. [Read: clearly the only answer was to put another clock in the kitchen].

We looked around online and we couldn't find anything we liked to fill the space-- and the ones that did were SO EXPENSIVE.  So you guys know how I roll:  I do it my damn self.

We picked up house numbers from Lowe's.  Nothing too fancy, just 4" aluminum numbers for $1.48 each.   We did get bigger number for 3, 9, 6 and 12 to stand out.

We started out by making a large circle on paper to get an idea of how big we wanted to the clock to be.  Then we divided into pie-like slices to assess where the bigger numbers would go.


From there we drew lines across the slices to make sure numbers like the 10 & 2, 8 & 4 and 7 &5 would line up with each other.


We placed the numbers on the paper.  Once we were happy with the arrangement, JEGs made little marks through the nail holes of each number to show where they were.


He then taped the paper on the wall, and pushed through the paper at each pencil mark, making a small hole in the wall.


 Once he had pushed through all the holes, he lined the numbers up with the holes on the wall and screwed in the numbers.


Eventually we realized the cardboard slivers we were using as clock hands were not going to tell time, so we ordered a set from Etsy seller Clock Parts.  You can get clock hands in all sorts of fancy styles, but we went with the very utilitarian and clean look with simple 17.5" hands.


...and they were too big.  Oops.

JEGs grabbed his Dremmel drill and after some measuring, he filed them down to a better length.


I sprayed the larger numbers black to match the rest and we were finished!


Here is the view from our couch;  you can clearly see what time it is:


The clock can actually be seen from the porch, and we've had delivery men comment how much they like the clock!

I'm thinking about pulling down the smaller numbers and painting them a charcoal grey, but that's not super high on my To Do list.

Here is the price break down for you:
Clock Hands: 18.95 + 3.95 (s&h)= 22.90
4" house numbers: 14.80 (10 @ 1.48 each)
6" house numbers: 9.45 (5 @ 1.89 each)

Total Cost: $47.15

Considering the cheapest pre-made clock we found to fill the space was $130 (and I was kind meh about it) I am super super happy with how this turned out and the cost.  Obviously you could get fancier numbers and nicer clock hands, but like I said, we were very utilitarian about this project.

How about you guys?  Any indoor projects you completed over the winter?  Or how about some fun spring time outdoor projects??

Always & Forever,
  ME