...like a dorm room full of hand-me-down furniture.
I kept saying I was going to refinish the side table, coffee table, and chair when the weather got warmer. Well, time passed and I finally decided to get to gettin'.
I decided to start with the side table. Let me tell you, I had a devil of a time finding a table to fit this area. Our couch is very deep, the space between the couch and wall is not very wide and I needed storage, so I was looking for something very specific. I had been scouring Craigslist and thrift stores to no avail.
One day I was paruzzing Target's website (like I do pretty much every day) and I stumbled upon this little gem

Even though it was technically a console table, if I turned it to the side, the length and width were basically exactly what I was looking for. I showed it to JEGs, and at first he was all "I can build that" and I said "...ok, but WILL you build it" and he bascially said "eeehhh... let's order it".
I love it when he lets me do what I want.
I used my Target RedCard and got an extra 5% off and free shipping so I knocked the price down to about $53 and some change shipped. Boom.
Because of the price, we were hesitant about it, but we were pleasantly surprised that this table is 100% real wood, and it's pretty solid. Our only beef was it was too tall, and we didn't like how low the shelf was. JEGs took the saw to the legs and lobbed off a couple of inches to make it a better height for our couch. Since the shelf was only held up with brackets, we moved it up to a little more
Like I said, this is made of legit wood, you guys!
For about six months we kept it the natural wood. I liked the lightness of it, but my plans for the chair and the coffee table are to go lighter and I felt like something needed to balance out the darkness of the stairs and fireplace. Andplusalso, the natural wood seemed to blend into the couch and rug. I wanted it to pop some more.
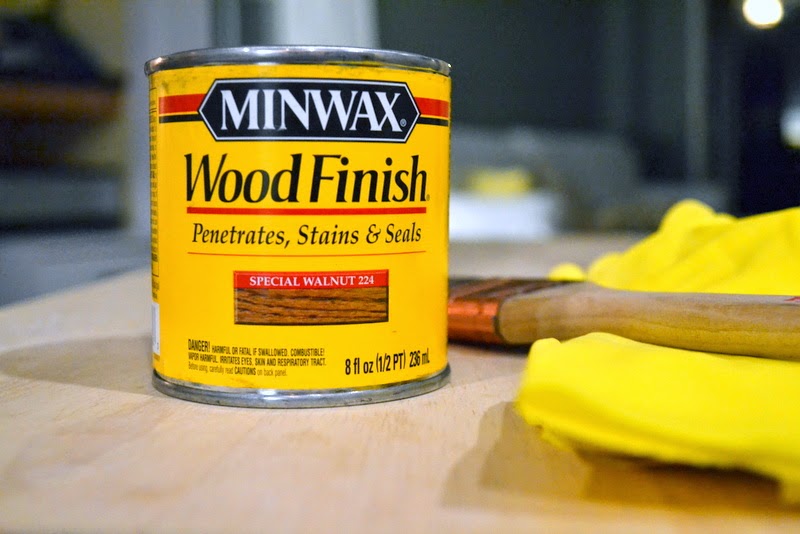
The coffee table and chair were the same color, and even though I didn't plan for them to stay that color, I did really like the tone of the stain. I stopped at Lowes and snagged a small can of Minwax stain. I don't know what makes it sooooooo much better than the other walnuts out there, but it's schuper schpecial.
After pouring myself the necessary glass of Cabernet, I got down to it. Normally I would recommend doing this outside, but I am impatient and decided to stain in the kitchen on a Friday night. Since we had been using it for about six months as is, I gave it a good sanding to scrub off all the gunk it had acquired. I opened all the windows for ventilation and put the table on a piece of cardboard.
The directions mention it can be left on between 5-15 minutes before wiping, but I opted for the lesser time to control the color.
It only took about two coats (three coats in some spots) but I am really happy with the outcome.
Underneath we have enough space to tuck in three IKEA SAMLA containers of Hunter's cars, LEGOs and other various toys.
One down... two more to go...
ME


2 comments:
It looks great! And love that it has extra storage underneath - we can always use more of that.
That's Great work of your blog post! Its amazing & Very useful information - Thanks for sharing the great info with us!!!
Architectural Rendering
Post a Comment