
this picture is circa 2009. Apparently I didn't understand the concept of steaming my bedding.
Ok, so technically we do have a headboard, but it's kinda wimpy. You can't see it above the pillows, and we have 9ft ceilings in Falconhead-- we needed a little more oomph!

I know there are a million and one tutorials on how to make a headboard, but now there will be a million and two. Why? Because this is my blog and I post what I want. So there :)
When I first set out to do this project, I had the idea to use a solid piece of MDF similar to what Dusty did . However, after getting JEGs involved, he said it would be lighter, easier to hang and cheaper to get some planks and build a frame. Since I'm all about the cheap and easy, I decided to take his idea and run with it. Twenty minutes later we were walking out of Home Depot with three boards.
Later that week, JEGs cut the wood down to size and screwed them together to create a frame

 This is a JEGs victory pose. There were many more like it, however I'm showing the one he will least likely kill me for posting.
After the frame was completed, we attached some pegboard to help stabilize the frame (and it would also help the batting hold its' shape).

 |
Once the pegboard was screwed in, we stretch the batting over the frame and wrapped it around the edge, stapling it ever few inches

 We did the same procedure with the fabric as we did with the batting, making sure the fabric was straight and snug, and folding each corner as if we were wrapping a present
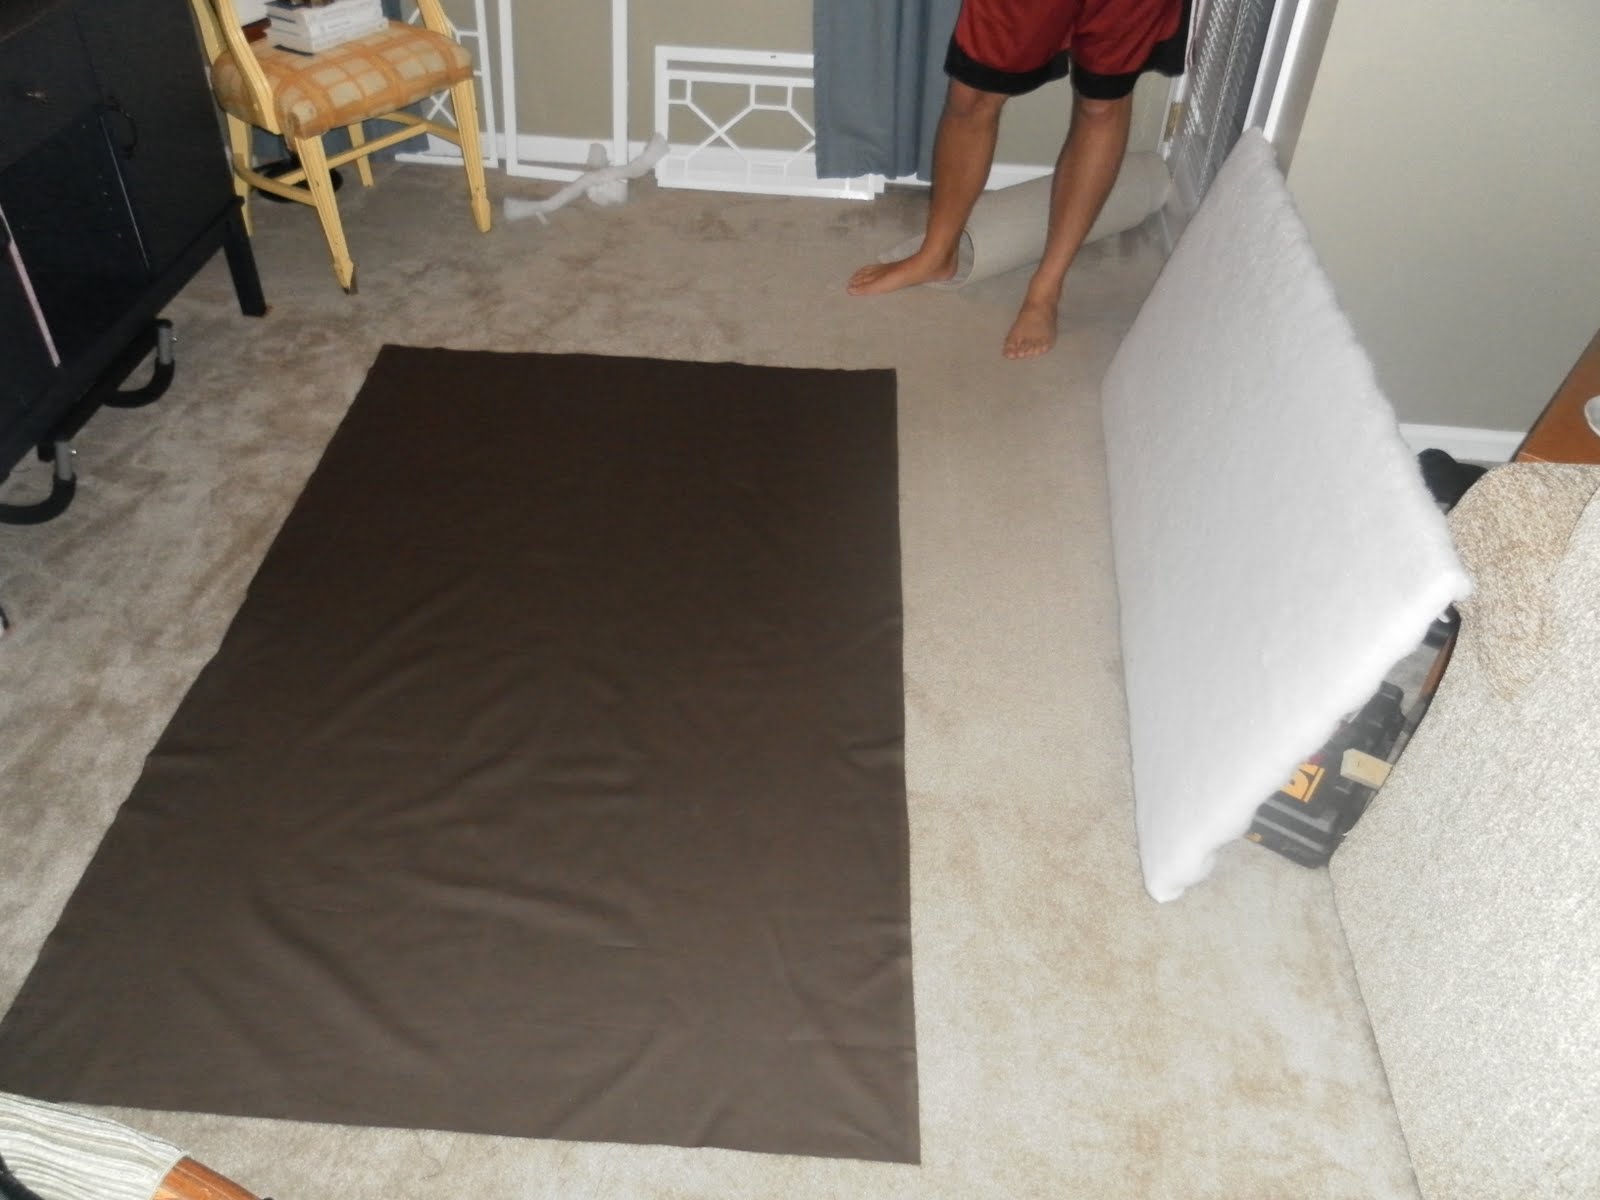

I added some buttons with a button-making kit that can be found at most fabric stores. Cover your buttons with the fabric you want to use. Instructions for how to do this will come with the button kit, and are pretty simple to follow.
Next, I took a needle and thread and poke through the back of the headboard to the front, through the pegboard. Be sure to leave some end of your thread hanging through the back. Once through to the front, string the button and poke back through the hole to the back of headboard. I used a couple of shirt buttons I had lying around to tie the thread in back and secure the button. Make sure it is tight before you tie it off to ensure you have a tufted look.

Our pegboard was very helpful in the tuft-making process (is that even a phrase?). Not only did it provide resistance for the tufting (?) but it also made it easier to line up the buttons and I didn't need to drill a hole to thread the needle through. I like to use as little power tools a possible.
When we were finished, JEGs simply measured out three nails and hung the new headboard on the wall behind the existing bed frame.


The final look is a masterpiece and I am so happy with the outcome.
Cost breakdown:
lumber: $6 (3 planks @ $2 each)
pegboard: FREE (JEGs had it laying around)
batting: $7.38
fabric: $19.98 (2 yards @ $9.99 on sale)
button kit: $3.28 (for a pack of four buttons)
Total: $36.64
My happiness: priceless.

Always & Forever,
ME
3 comments:
OMG! This looks amazing!
I really love the idea of using pegboard, I haven't seen that before and I think that's a better idea than the plywood I used. Hard to get the holes for the buttons.
And, I totally had the exact same bedding. What a small world.
And, a big thumbs up to your hubby for helpin.
yay JEGS! Super smart going wth the lighter materials. I used plywood and it weighs a ton. And it looks awesome too!
who steams bedding? seriously?
Post a Comment